I have been cooking professionally for over 20 years, so when someone recommends a new way to say, cook a steak, I am likely to do something like roll my eyes, say it’s a load of BS and possibly ask them to leave the kitchen, never to return.
However, when I was introduced to the concept of reverse searing a steak I decided to bury the stereotypical stubbornness that is occasionally associated with chefs and I gave it a go.
This is how I have always cooked a steak
- Season it well.
- Place it on a searing hot surface for a minute or two.
- Turn it over and continue to cook it until the desired temperature is reached.
- Allow the steak to rest for a few minutes before slicing.
This is a basic, and straightforward technique, so why change anything?
Why should you reverse sear a steak?
The concept of reverse searing is aimed at moisture retention and even cooking. My experience with sous vide cooking allowed me to be more open-minded about reverse searing, which could produce similar results without the extra equipment. For those of you who are not familiar with sous vide cooking, it involves cooking food, like steak, in a vacuum sealed bag that is placed in a circulating water bath that is kept at a consistent temperature. This allows for very even cooking that can then be seared. Basically, instead of a medium rare steak being dark pink in the middle and becoming more cooked towards the outside, this dark pink color is consistent from one side of the steak to the other, then it can be seared.

A chef’s first time reverse searing steak
This is what I learned.
First, your choice of steak is important, good marbling (flecks of fat in the meat) is crucial to having a juicy steak regardless of cooking technique.
Second, the steak needs to be fairly thick, at least 1½”.
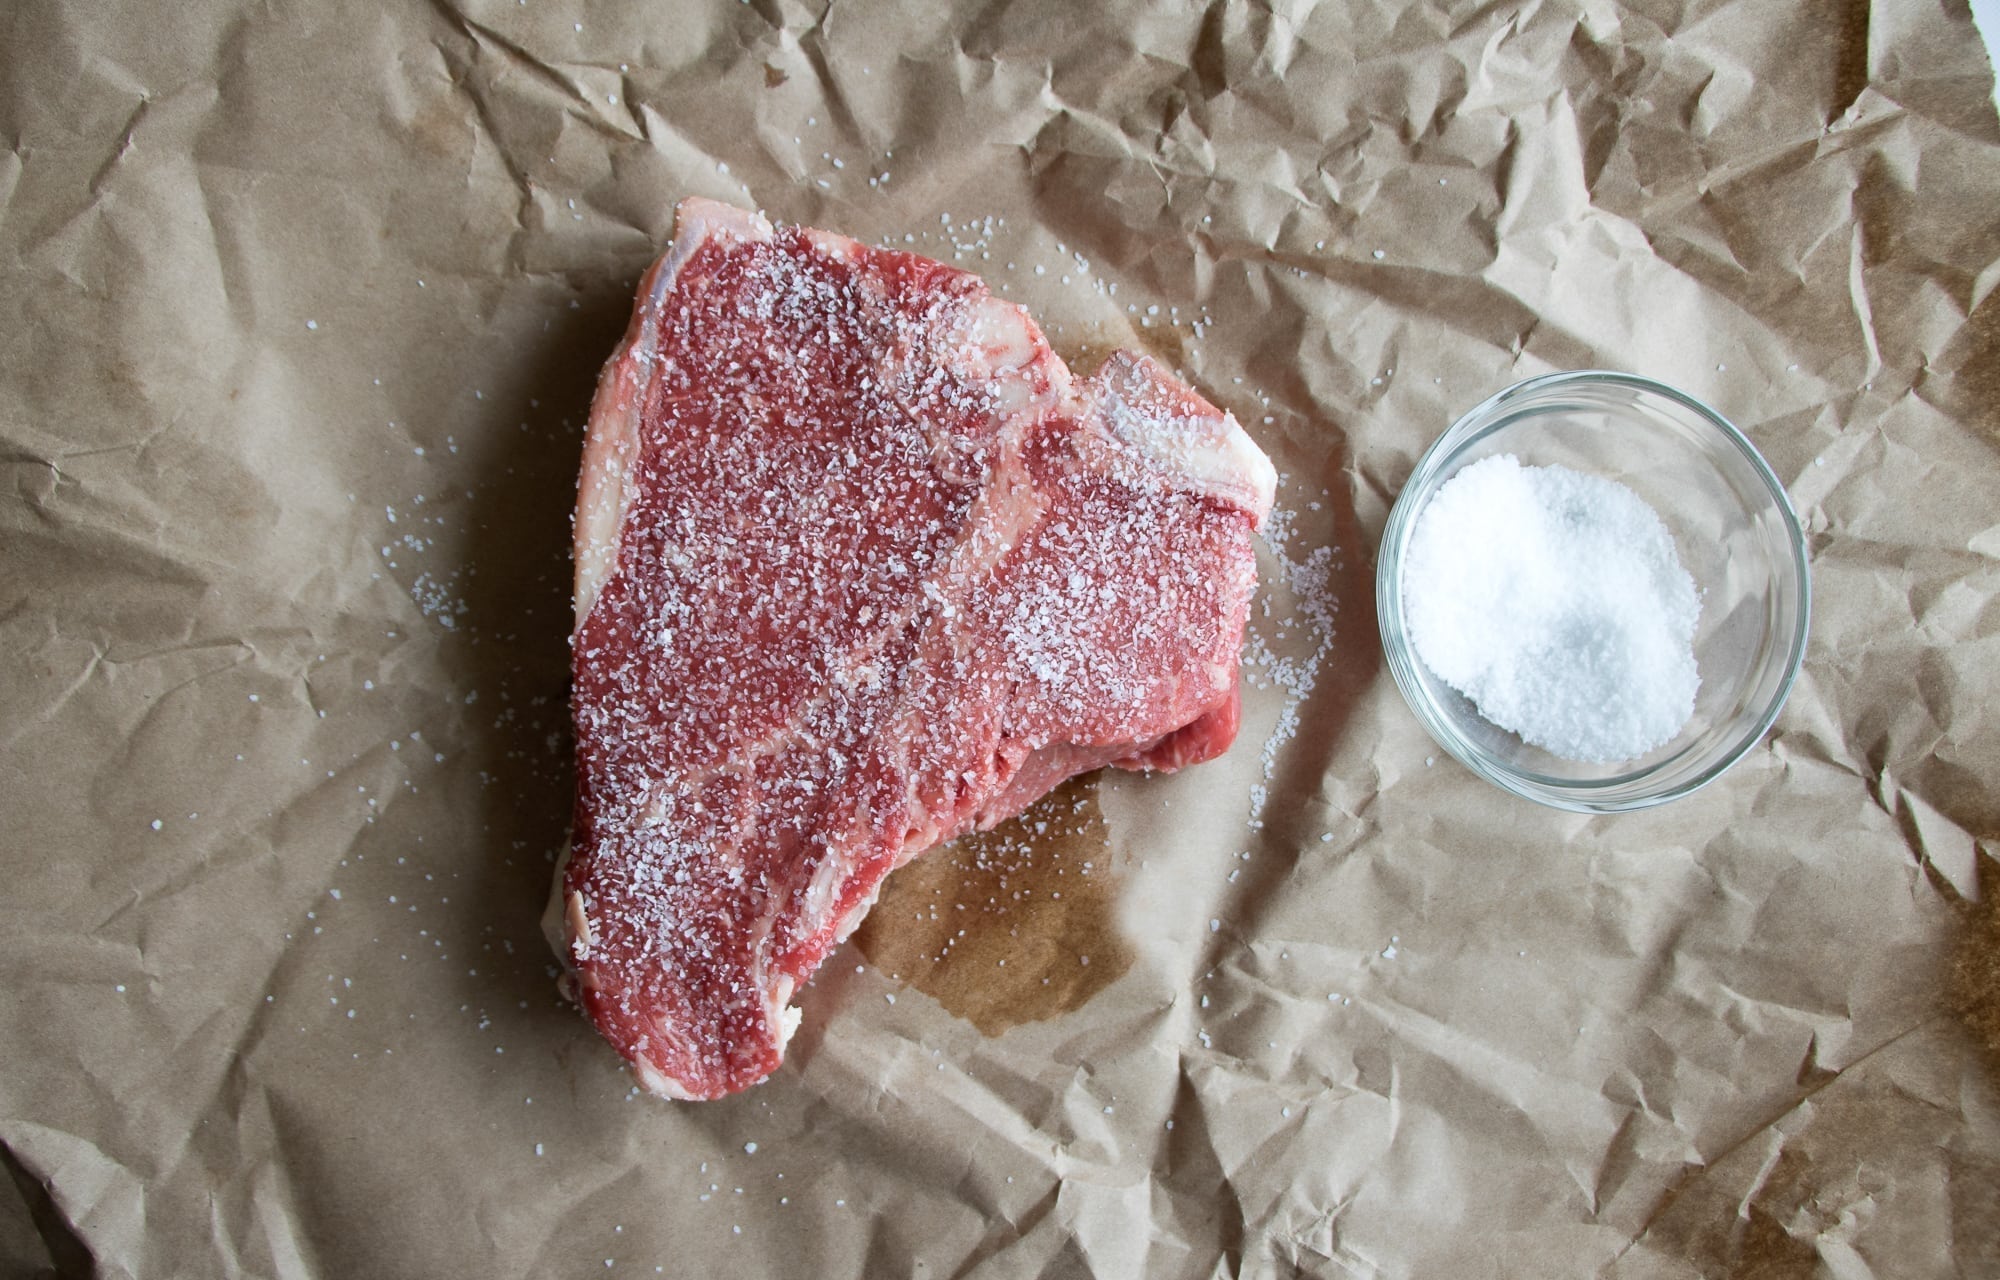
The steak should be seasoned well (coarse kosher salt always works best). Allow the steak to sit for 10 minutes or so before cooking, this allows the salt to denature the surface protein structure, which helps preserve those flavorful juices.
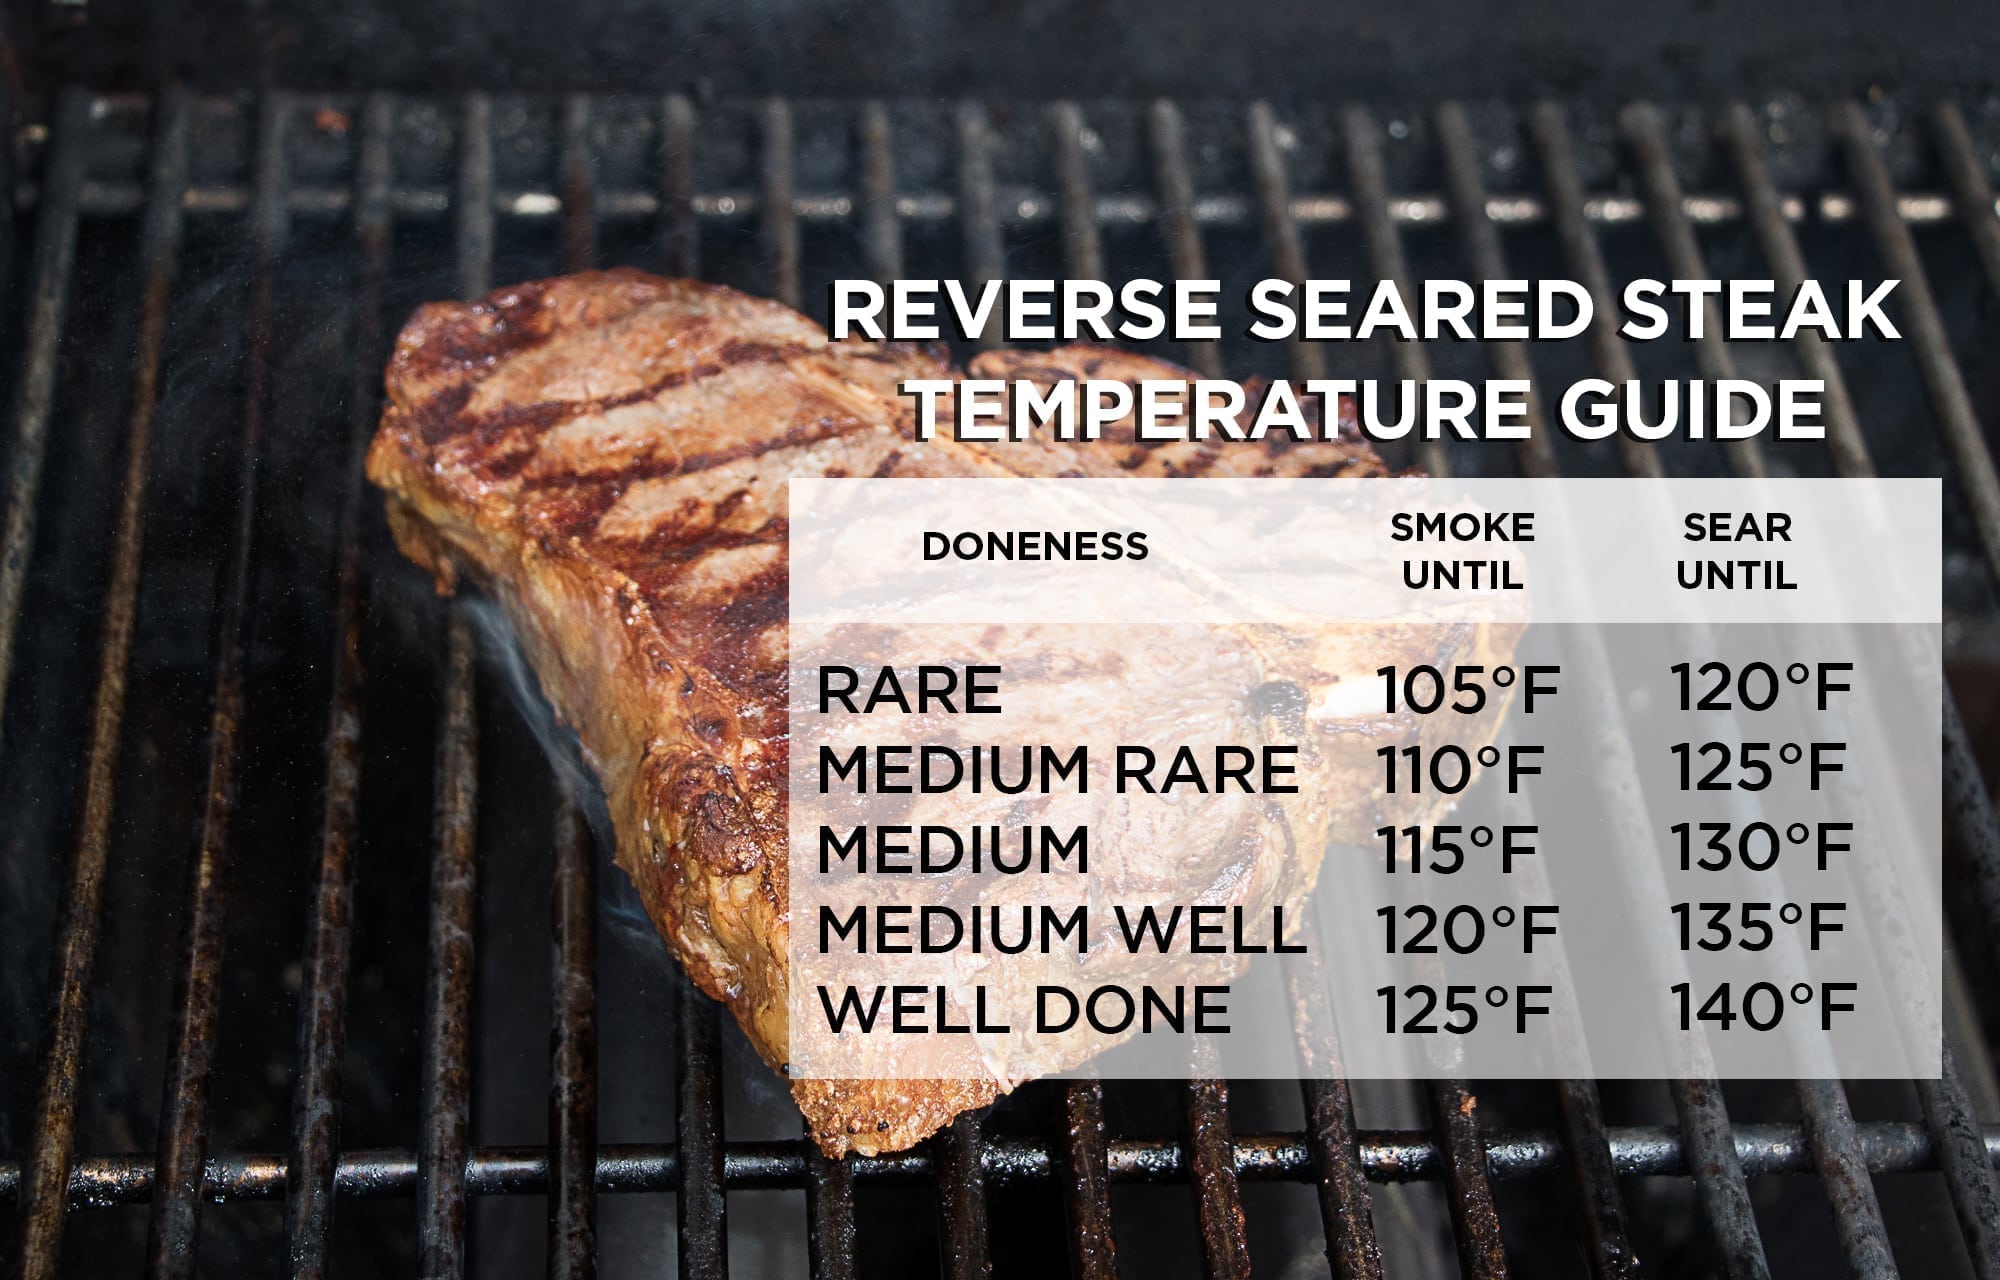
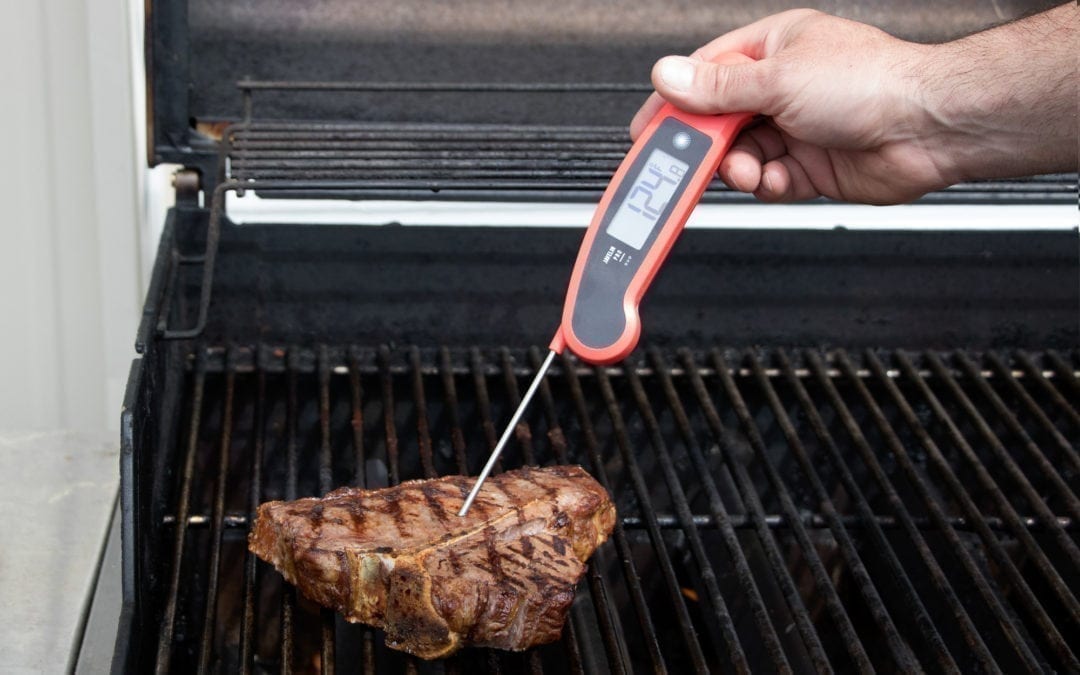
Reverse searing involves cooking on a low heat in an oven or on a grill. When the steak reaches an internal temperature of 10°F below your desired temp, sear both sides for a minute each on a smoking hot surface. I like to either get my grill grates as hot as possible or heat up a cast iron pan to the point of smoking. See the temperature chart below. A probe thermometer can really help you be more accurate when dealing with precise temperatures.

Here is something I tried that was absolutely delicious. Instead of cooking the steak on the grill or in the oven, I placed a 1 ½ ” thick well-marbled t-bone steak in my smoker that was set at 250°F. Then I added a cup of Northwest Blend Smoking Chips, a blend of Alder, Cherry and Maple woods. If you don’t have a smoker you could also use a smoker box on your gas grill.
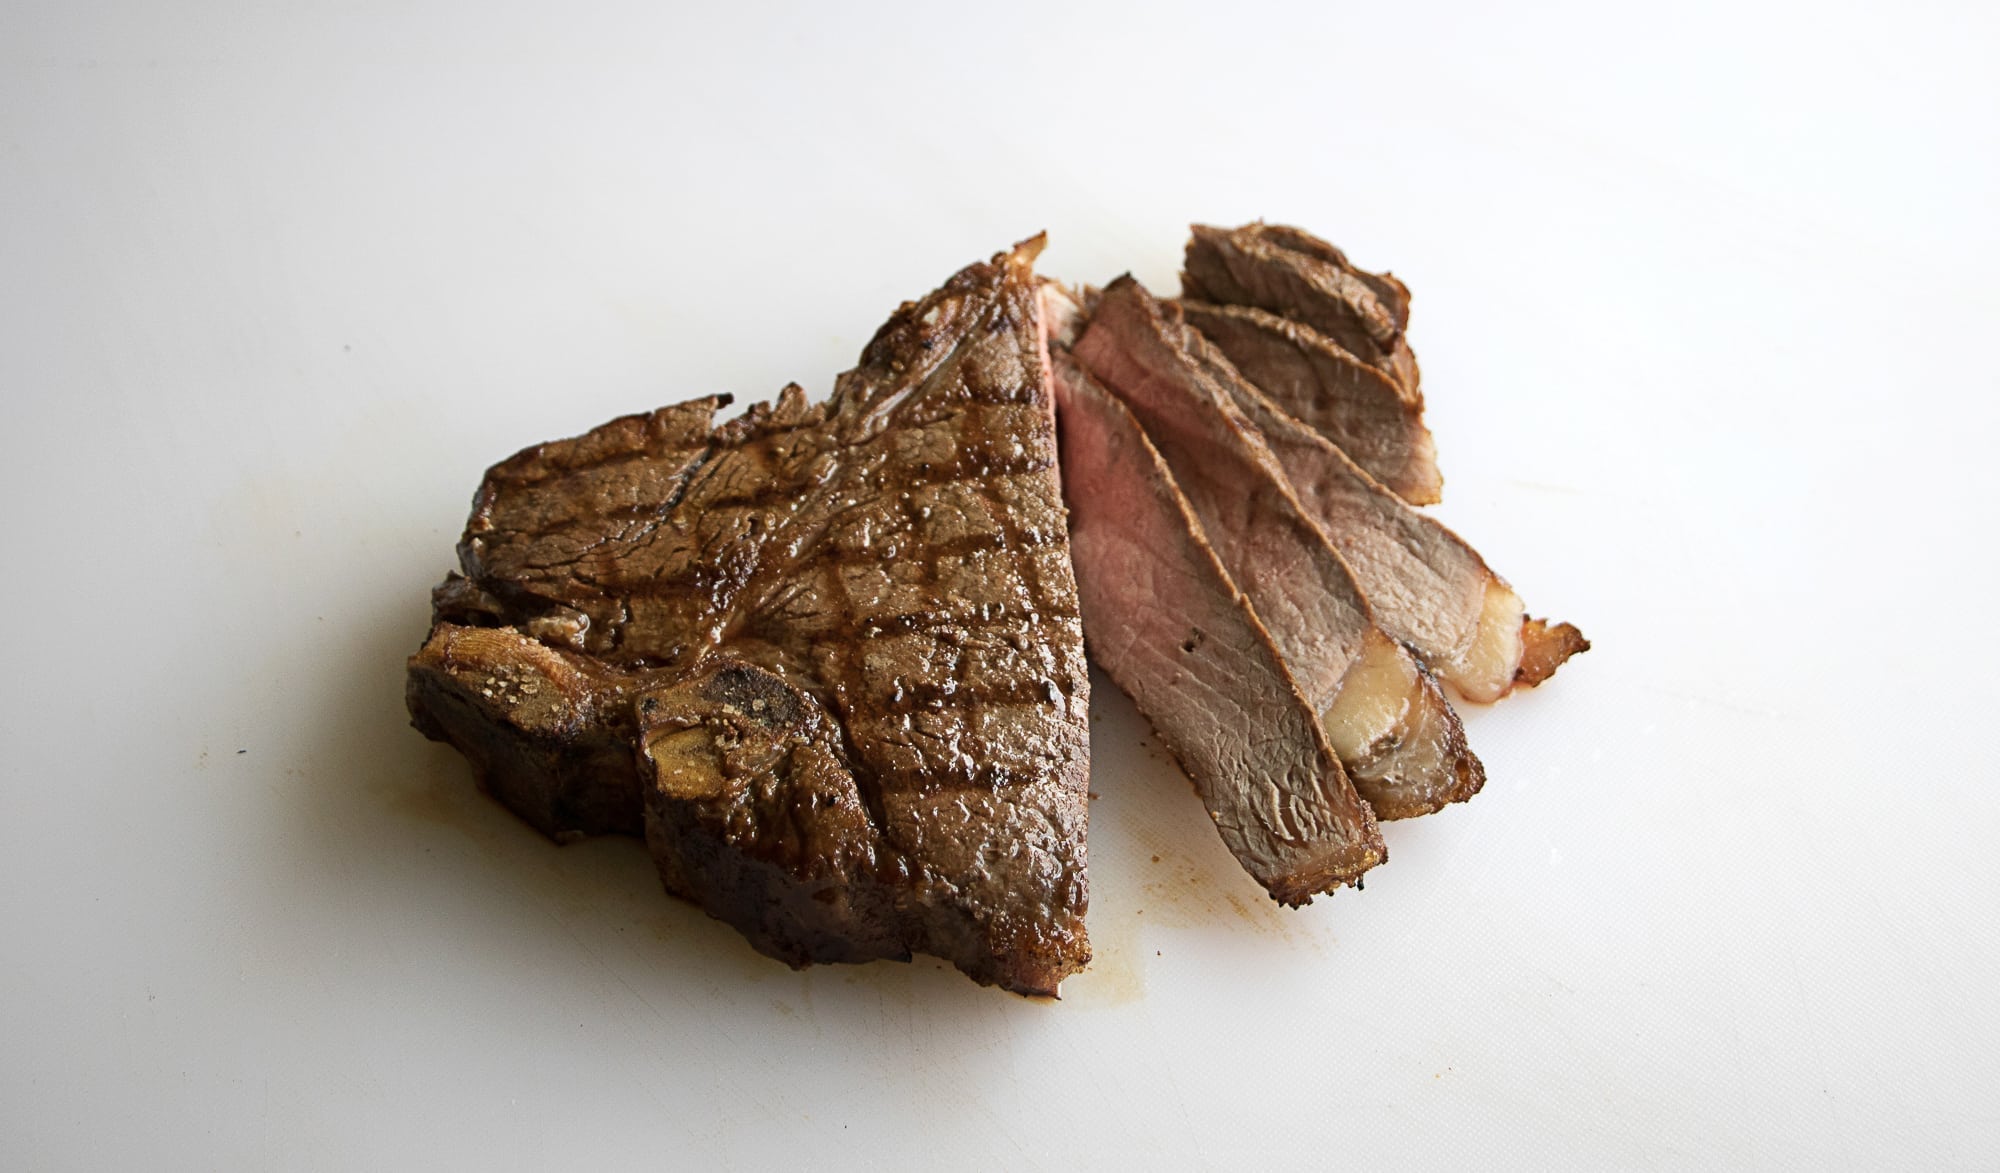
After 45 minutes the steak reached an internal temp of 115°F and I removed it from the smoker. Next I cranked up my gas grill as hot as I could get it seared the steak for 1 minute per side with the grill lid open. After letting it rest for a few minutes, I cut into the meat. It was juicy, a perfect medium rare and it had a delicious balanced smoke flavor.
So, although highly skeptical at first, I was willing to try it and I soon changed my tune. Apologies to all those I rolled my eyes at.

Matt worked his first kitchen job in the country of Malta at the age of 15. He has worked as a restaurant Chef in Arizona, Maine, Spain, the UK, Oregon and finally North Idaho. Now the Executive Chef at Wildwood Grilling, he thoroughly enjoys his day job. Check out his Instagram to see what he’s grilling behind-the-scenes.


