About 7 years ago a friend gifted me a 1-gallon IPA homebrew kit and it sat around in my basement for several months. When I finally did give it a try I found it surprisingly easy, and when I popped open my first bottle of homemade beer I was immediately hooked. It was delicious! Before I knew it, my basement was lined with 1-gallon glass jars just bubbling away. Shortly after this I purchased some equipment and started making 5-gallon batches. I have been at it ever since.
Up front, homebrewing at this level requires time and equipment that not everyone has. There are, however, plenty of ways to simplify the process. Malt extracts can reduce a great deal of time. There are plenty of 1-gallon homebrew kits available out there that can teach you the brewing process on a smaller, less costly scale. As a chef by nature I prefer to create from scratch as much as possible, so this recipe is not for the fainthearted.
For those of you that already make your own and haven’t tried it yet, I highly recommend brewing a batch or two of smoked beer. The subtle smoke flavor of our Northwest Smoking Chip Blend and the maltiness of this English style porter makes for a delicious beer. This ale is most suited to the cooler months.
I always prefer darker beers in the winter and in North Idaho the smell of wood smoke is abundant when it gets cold. This led me to the conclusion that I needed to create a beer inspired by the season, as well as the aroma and chill in the air.
For those of you who are not familiar with brewing terminology I will explain this recipe in as simple a way as possible.
Ingredients:
Whole Grains
- 1lb Pilsner Malt (this will be smoked)
- 9lbs 2-Row Base Malt
- 7oz Roasted Barley Malt
- 5oz Chocolate Malt
- 1Lb Medium English Crystal Malt
Hops, pellets
- .5oz UK Fuggles
- .5oz Chinook
Other ingredients
- 1 tsp. Irish Moss
- 8oz Light Brown Sugar
- 1 Package Dry English Ale Yeast
Chef's Tip
Smoked grains tend to be inconsistent because the level of smoke flavor can dissipate over time. It’s best to smoke your own if you’re making a smoked home brew.
Directions:
The Smoke
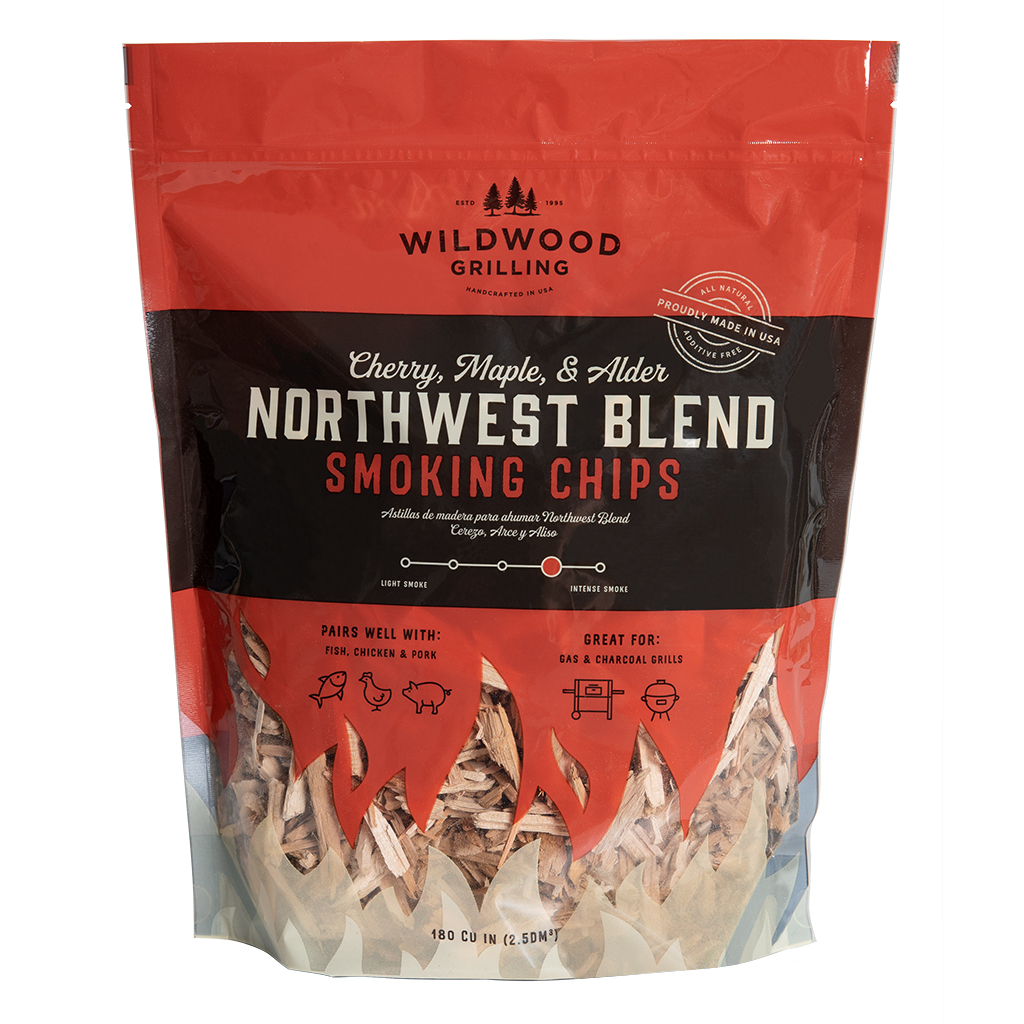
The day before brew day I took the 1lb of pilsner malt, set it in a couple of shallow pans and placed them into a cold smoker with Wildwood Grilling Northwest Smoking chips for 3 hours. You can also hot smoke, just be careful not to get the grains too hot as they can get dark and add a bitter flavor to the beer. The NW smoking chip blend is a combination of cherry, maple and alder. I then placed the grains in an airtight bag overnight. Some say you should wait a week or so for the flavor to mellow but I wanted to really taste the wood smoke.
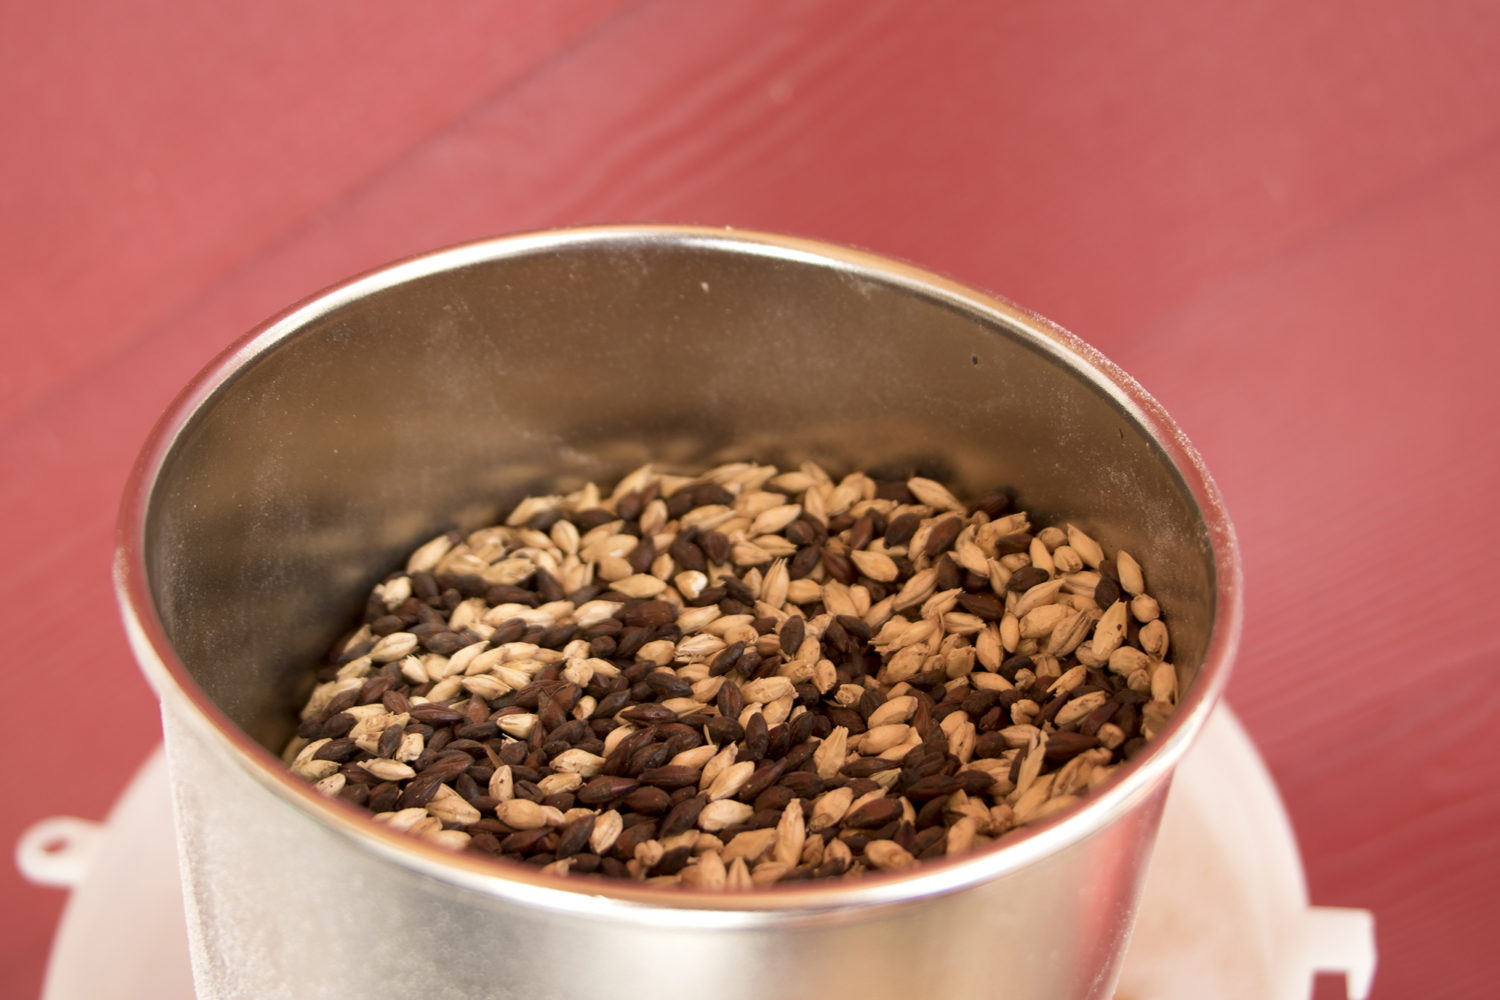
The Mash
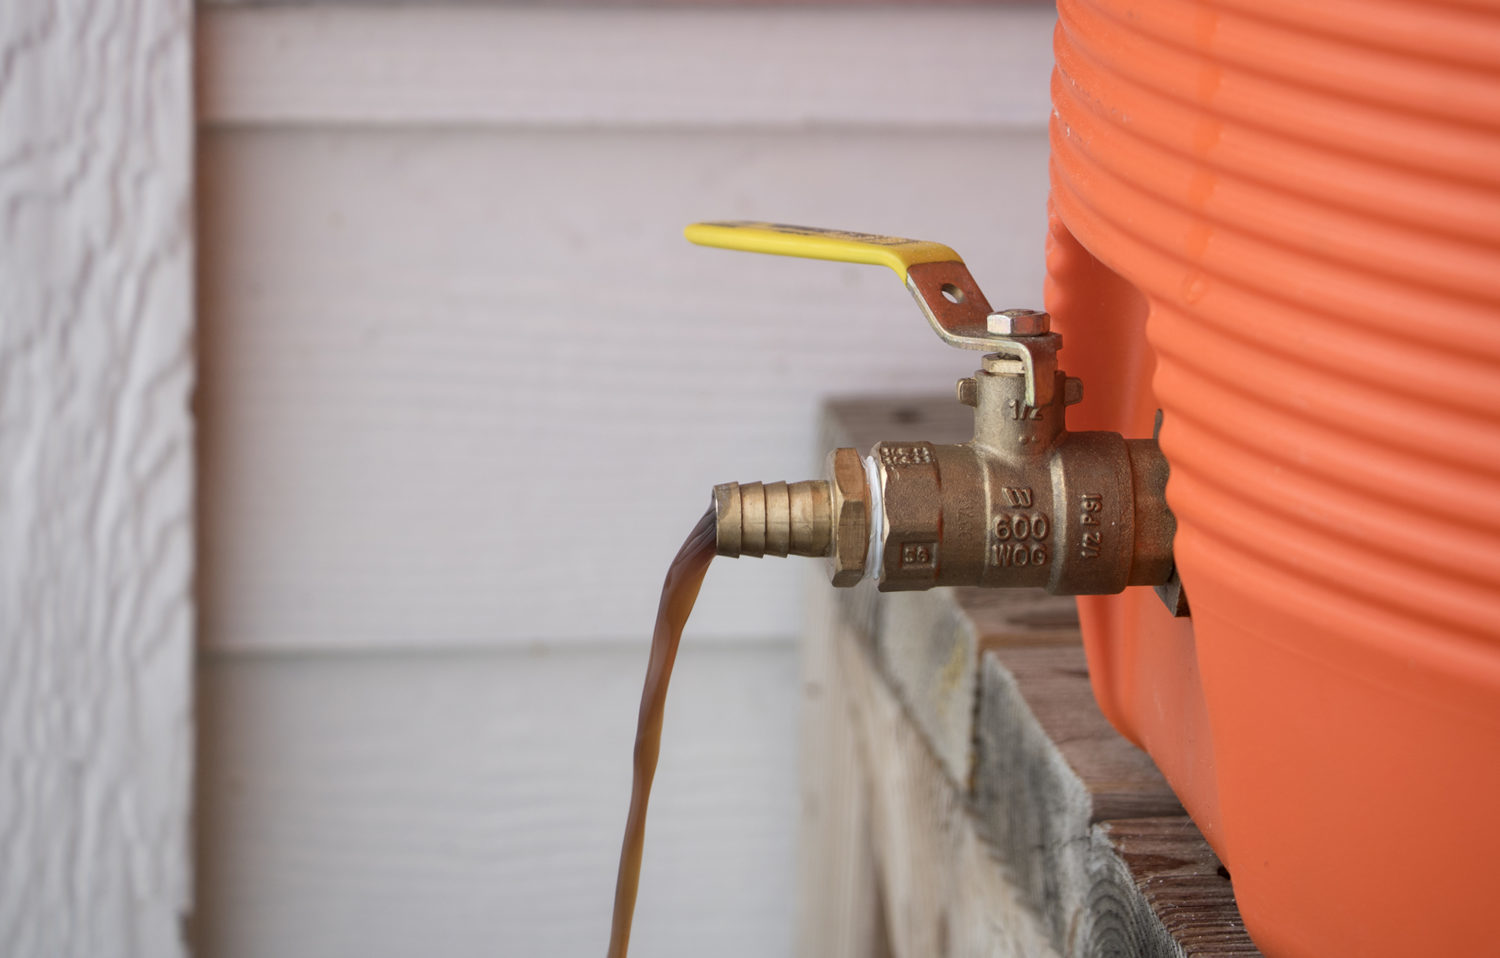
The next day the grains were ground together using a grain mill. Most homebrew stores can do this for you if you buy your grains from them. Next, heat 3 gallons of water to 170°F and, along with the grains, add it to a cooler with a filter and spigot. This cooler is known as a ‘mash tun’ in the brewing world. This mixture of grains and hot water is called ‘the mash’. At this point a timer is set for 60 minutes. As the grains steep in the hot water, natural starches begin to convert into sugars which will ultimately feed the yeast and produce alcohol during fermentation. When the timer arrives at 60 minutes slowly start to drain the liquid into a large pot, known as a brew kettle.
Sparging
Heat four gallons of water to 165°F half a gallon at a time. Add it to the mash tun, keeping the spigot open to continually add liquid to the brew kettle. This is called sparging. Essentially you are slowly rinsing additional sugars out of the grains. When you have extracted as much liquid as possible (do not press or squeeze the grains, let the liquid drain naturally) set the brew kettle on the stove and bring to a boil.
The Boil
Set a timer for 60 minutes. Immediately add the brown sugar and UK fuggle hops. Be prepared to turn the heat down to avoid a boil-over. Boil-overs are extremely messy, potentially dangerous, and worth avoiding. Keep the liquid, known as ‘wort’, at a steady, gentle boil. After 45 minutes add the chinook hops and the Irish moss for the remaining 15 minutes. Irish moss is a dried seaweed that reduces cloudiness and adds clarity to your beer. Remove the kettle from the heat to begin cooling.
Cooling
There are various ways to cool the wort. I use a wort chiller, but a bathtub of ice water can also work. For flavor purposes it is in your best interest to cool the wort as quickly as possible. As the wort cools it becomes susceptible to infection, so from this point on anything that comes into contact with the wort must be sanitized. I have never infected a batch of beer, but I am told it makes for a pretty disgusting experience.
Pitching
When your wort reaches a temperature between 60°F and 70°F you can transfer it to a fermentation bucket or carboy. This can be fitted with an airlock that allows gasses to escape while restricting the entry of anything that could compromise the beer. Once the beer is in the fermenter, carefully add the yeast and fit the airlock. A yeast starter can be used but we can save that for another day. Give the fermenter a shake for 20 seconds or so to introduce some oxygen to the wort. This gives the yeast a good healthy start.
Fermentation
This process takes about 3 weeks. I find that a temperature ranging between 60°F and 70°F is ideal. If your fermenter is clear glass or plastic, cover it with something to keep out the light. After 3 weeks your beer is ready to bottle or keg. My wife prefers that I don’t have kegs of beer dotted around the house, so I prefer to bottle. This makes sharing easier as well. If you’d like, adding corn sugar to the beer before bottling reactivates the yeast just enough to create enough gas to carbonate it, which takes an additional week or two.
So there you have it. When all is said and done you will have 48 12oz bottles of Smoky Porter to enjoy. Fire up the grill and have some friends over because homebrews are meant to be shared.
Used in this recipe: